


Raspberry Pi may be small, no bigger than a credit card, but it opens up a world of possibilities in robotics. Building a robot used to require expensive kits and specialized tools, but now it is accessible to anyone with curiosity and creativity.
From simple educational projects to advanced autonomous machines, Raspberry Pi provides the processing power, connectivity, and flexibility needed to turn ideas into real, functioning robots. This article explores how to move from concept to automation, and how Raspberry Pi makes robotics approachable and exciting.
Why Raspberry Pi and Robotics Are a Perfect Match
Raspberry Pi has become the bridge between simple electronics and intelligent automation. Its flexibility allows makers to combine coding, hardware, and creativity without steep costs or complexity. Whether you’re building a school project or a prototype for a business idea, the Raspberry Pi provides all the tools you need to bring a robot to life.
- Processing Power: The Raspberry Pi can handle multiple tasks, from basic motor control to real-time data processing.
- Connectivity: It supports Wi-Fi, Bluetooth, and USB devices, making it easy to connect with sensors and actuators.
- Affordability: Compared to traditional microcontrollers, it offers much more capability at a low cost.
- Community Support: Thousands of makers and developers share open-source projects, tutorials, and troubleshooting tips online.
All these factors make it the perfect platform for anyone looking to explore robotics and automation.
Key Components You’ll Need
Before you start building your first robot, it’s important to understand the core components that make the system come alive. Each part plays a unique role, and knowing how they fit together will save you time and frustration later on.
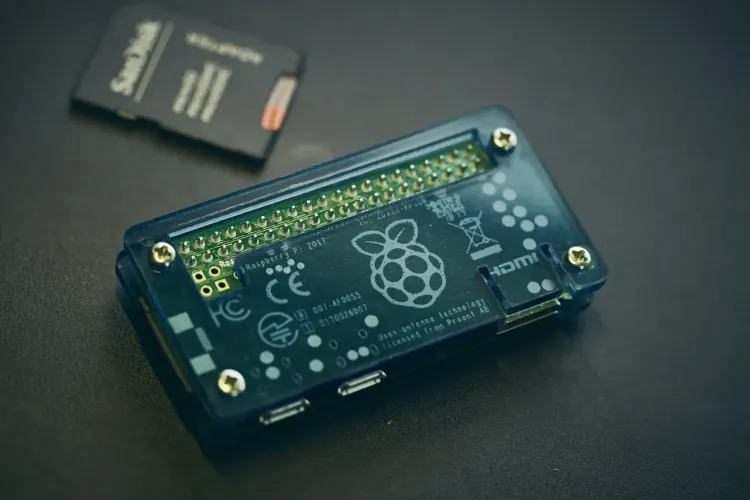
1. Raspberry Pi Board
This is the brain of your robot. Models like the Raspberry Pi 4, Raspberry Pi 5, or the compact Pi Zero 2 W are great options depending on how powerful your project needs to be. The Pi 4 and Pi 5 offer enough processing power for multitasking, image recognition, and AI projects, while the Pi Zero is better suited for lightweight robots where space and energy efficiency matter.
2. Motor Driver or Controller
Motors are what makes your robot move, but the Raspberry Pi cannot power them directly. That is where motor drivers like the L298N or PCA9685 come in. These modules control the direction and speed of the motors based on signals from the Pi. The motor driver acts as the bridge between the low-voltage control logic and the higher power demands of the motors.
3. Sensors
Sensors give your robot awareness of its surroundings. Ultrasonic sensors help with distance detection and obstacle avoidance. Infrared sensors are useful for line-following or motion detection. Temperature or humidity sensors can add environmental data to your project. The combination of these inputs lets your robot make intelligent decisions rather than just moving blindly.
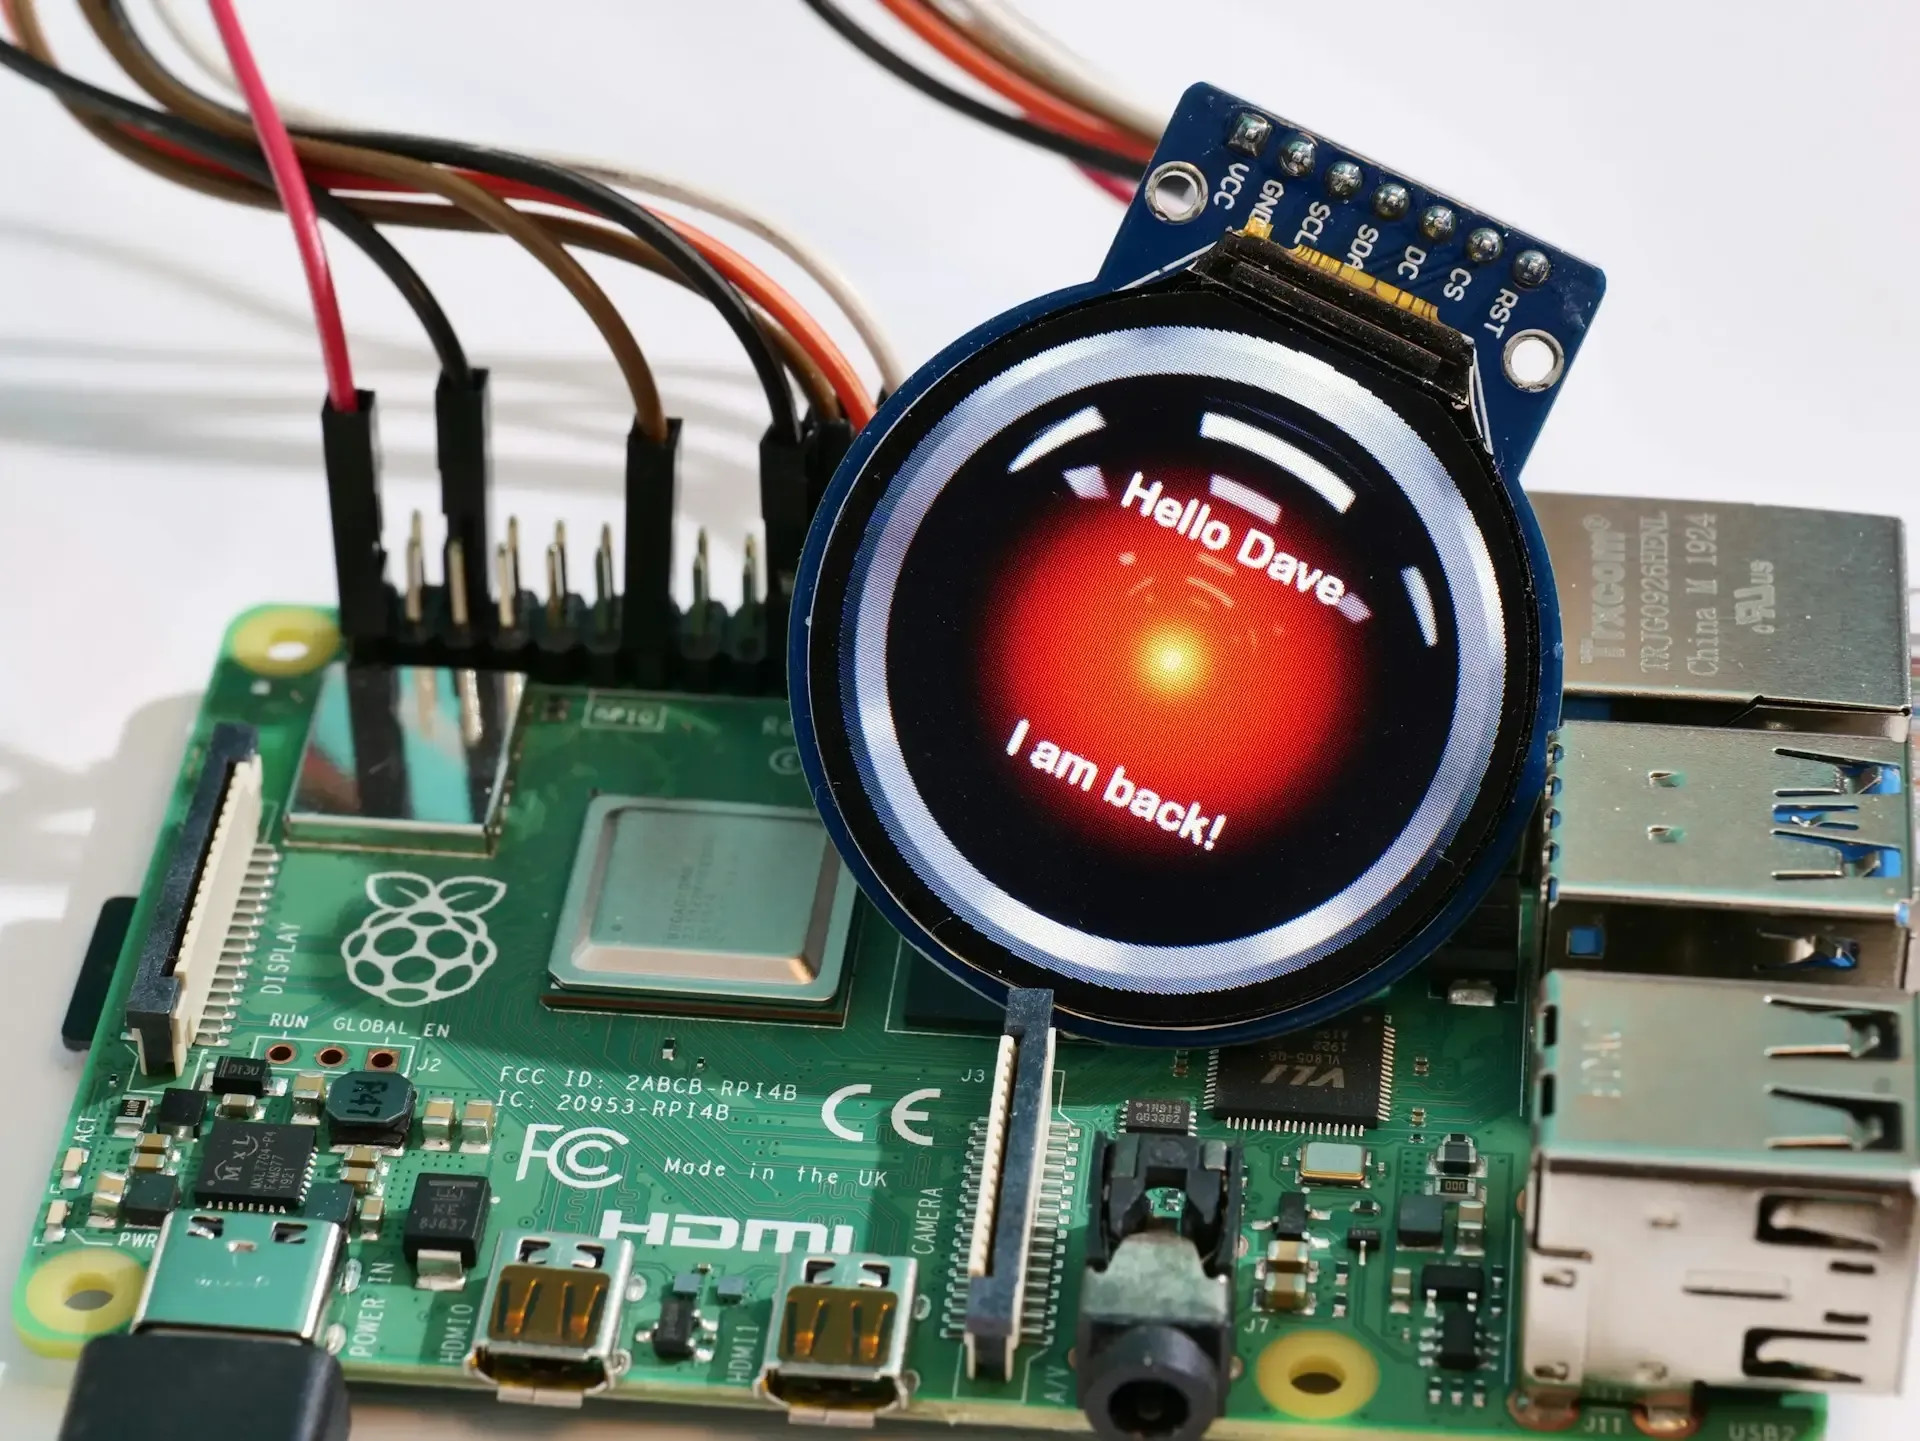
4. Camera Module
If your project involves vision or image processing, the Raspberry Pi Camera Module is essential. It allows your robot to capture live video or still images, which can then be analyzed using computer vision tools. This is what enables facial recognition, object detection, or navigation through visual cues.
5. Power Supply and Chassis
A reliable power source keeps everything running smoothly. Depending on your project, you might use rechargeable batteries, a power bank, or a dedicated Li-ion battery pack. The chassis is the frame that holds all your components together. Many kits include ready-made chassis with wheels, but you can also design your own for a custom look or specific purpose.
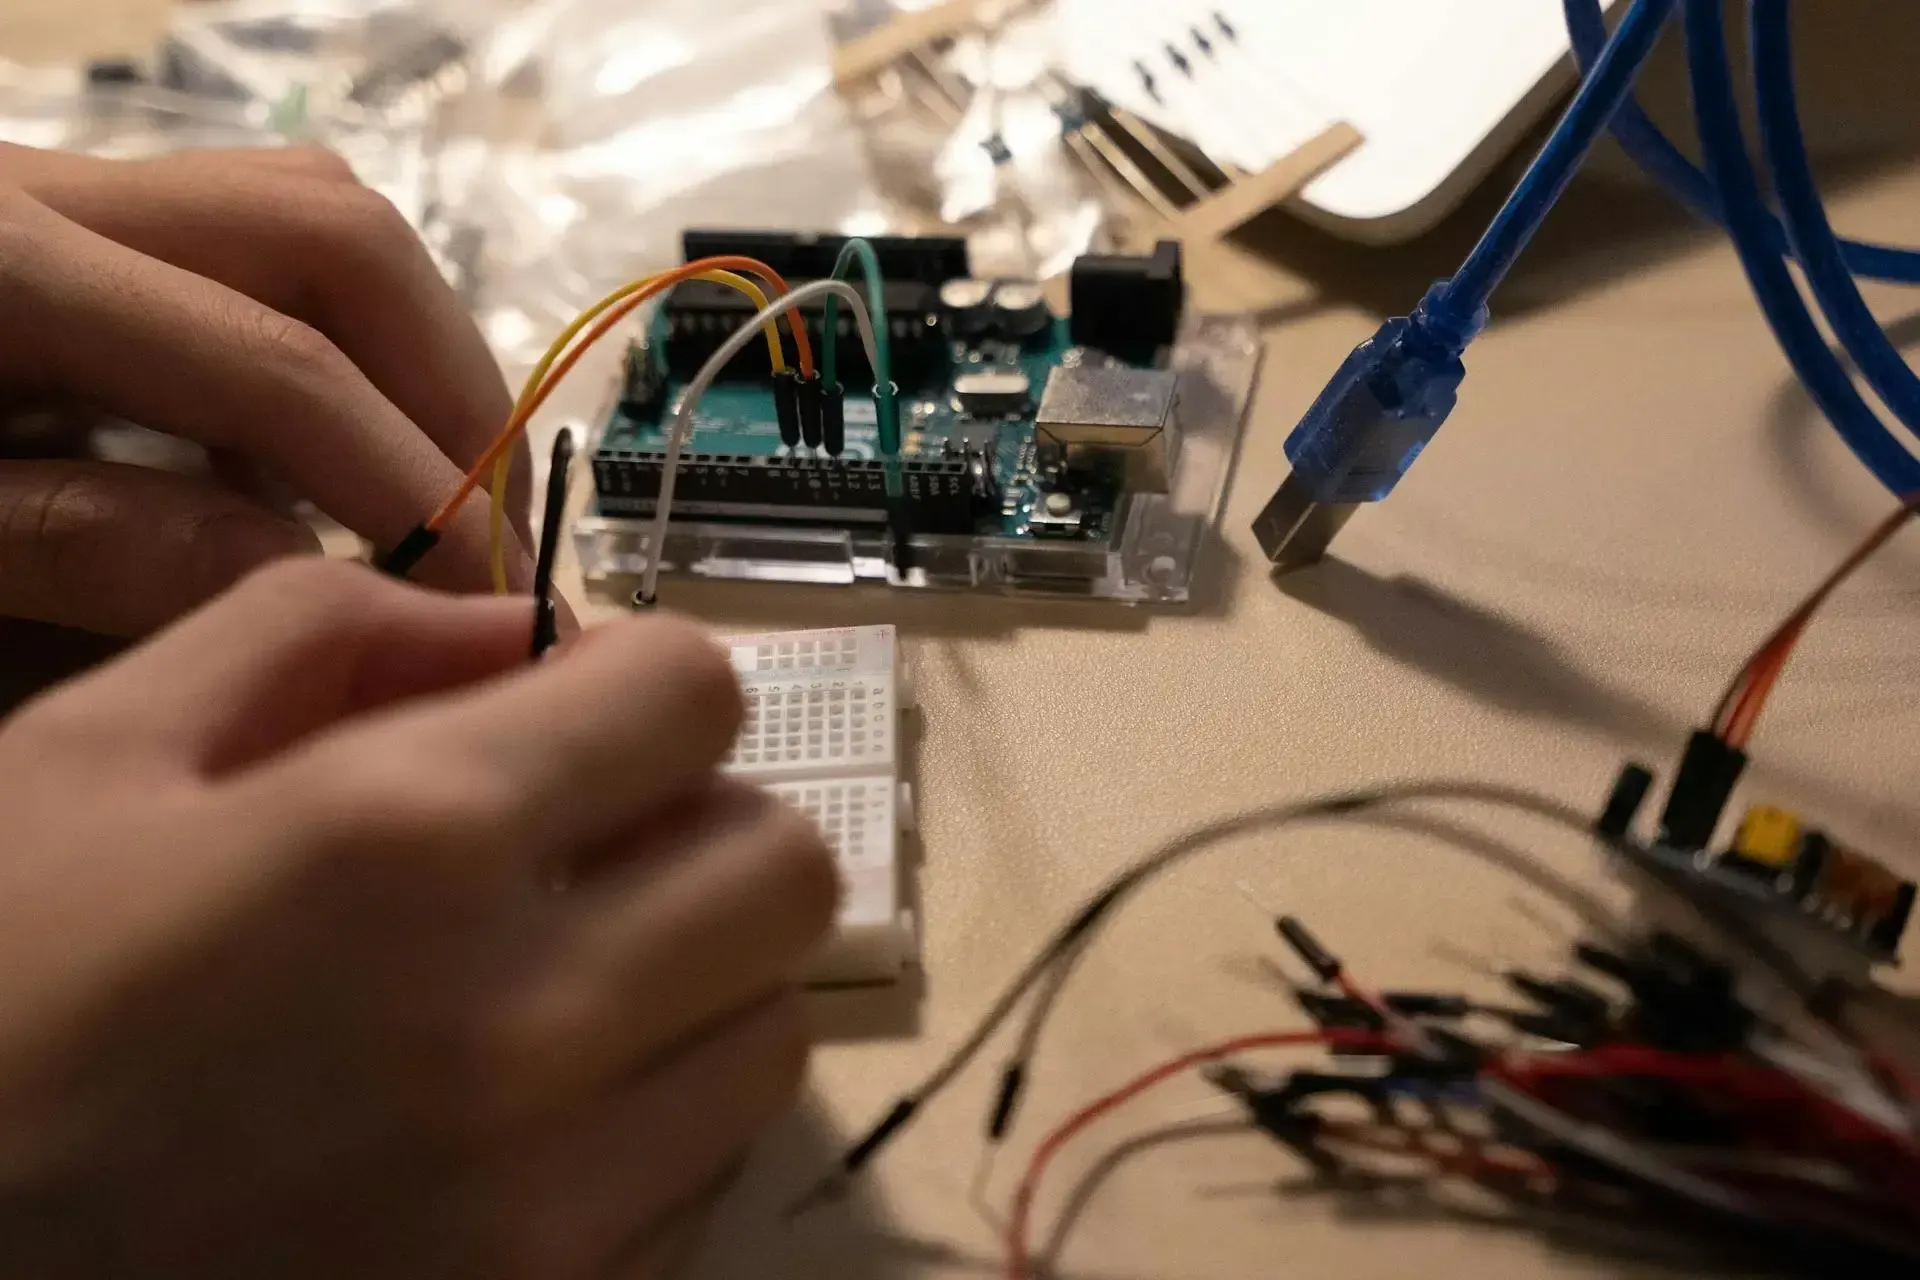
6. Wiring and Prototyping Tools
Jumper wires, a breadboard, and resistors are basic tools for connecting components without soldering. They make it easy to test circuits and reconfigure designs as your project evolves. Cable management and neat wiring help prevent confusion and short circuits.
Once you have these components ready, you can begin designing and assembling your robot. Start by placing each part on the chassis, plan your wiring layout, and test each connection carefully. Taking the time to prepare at this stage sets the foundation for a stable and functional robot later on.
Designing Your Robot: From Concept to Code
Designing a robot is where creativity meets problem-solving. This is the stage where your ideas start taking shape, and you decide what your robot will do, how it will look, and how all the parts will work together. A clear plan early on helps you avoid confusion later and ensures every component has a defined role.
Follow these six steps to move from concept to working code.
Step 1: Define the Purpose
Every robot begins with a purpose. Ask yourself what problem your robot will solve or what function it will perform. It could be as simple as following a line across the floor or as complex as monitoring your home. Once you have a clear goal, you can determine the kind of sensors, motors, and power system required. This clarity also helps you decide whether you need advanced features such as a camera or AI integration.
Step 2: Select the Right Components
With your goal in mind, list all the parts you’ll need. Choose a Raspberry Pi model that matches your processing needs. A Pi 4 or Pi 5 is ideal for vision-based or multitasking projects, while a Pi Zero suits smaller builds. Select compatible motor drivers, sensors, and actuators that align with the tasks your robot will perform. This is also a good time to decide on a power source, whether that’s batteries, a power bank, or a rechargeable pack.
Step 3: Plan the Physical Layout
Once your parts are selected, visualize how they’ll fit together. Use a chassis or build one from scratch based on your design. Decide where each sensor, motor, and module will be mounted. Pay attention to balance and stability so the robot moves smoothly. Sketch a wiring layout that maps out GPIO connections, motor driver pins, and power lines. A well-planned layout keeps your build neat, organized, and easy to troubleshoot.
Step 4: Build the Foundation and Test Basic Movement
Start assembling your components, connecting the motors and motor driver to the Raspberry Pi. Write a simple script to make the motors run forward, reverse, and turn. Testing early ensures your wiring and power delivery are correct before you add complexity. Once your robot can move reliably, it’s ready for sensors.
Step 5: Integrate Sensors and Add Control Logic
Connect one sensor at a time and test it individually. For example, check that the ultrasonic sensor correctly measures distance or that an infrared sensor detects motion. Then, combine the sensor data with your motor control logic. This allows your robot to make real-time decisions, such as stopping when it detects an obstacle or following a line on the floor. Keep refining your code as you test in different environments.
Step 6: Program Behavior and Fine-Tune Performance
With the basic systems running, move on to higher-level programming. Use Python libraries like gpiozero or OpenCV to create more advanced behaviors. You can add features such as automatic navigation, face detection, or object tracking. Test thoroughly and make small adjustments to improve response time and accuracy. Over time, your robot becomes more autonomous and intelligent, moving closer to full automation.
Real-World Raspberry Pi Robotics Projects
Raspberry Pi opens up countless possibilities in robotics, from simple learning tools to advanced automated machines. Here are some practical examples:
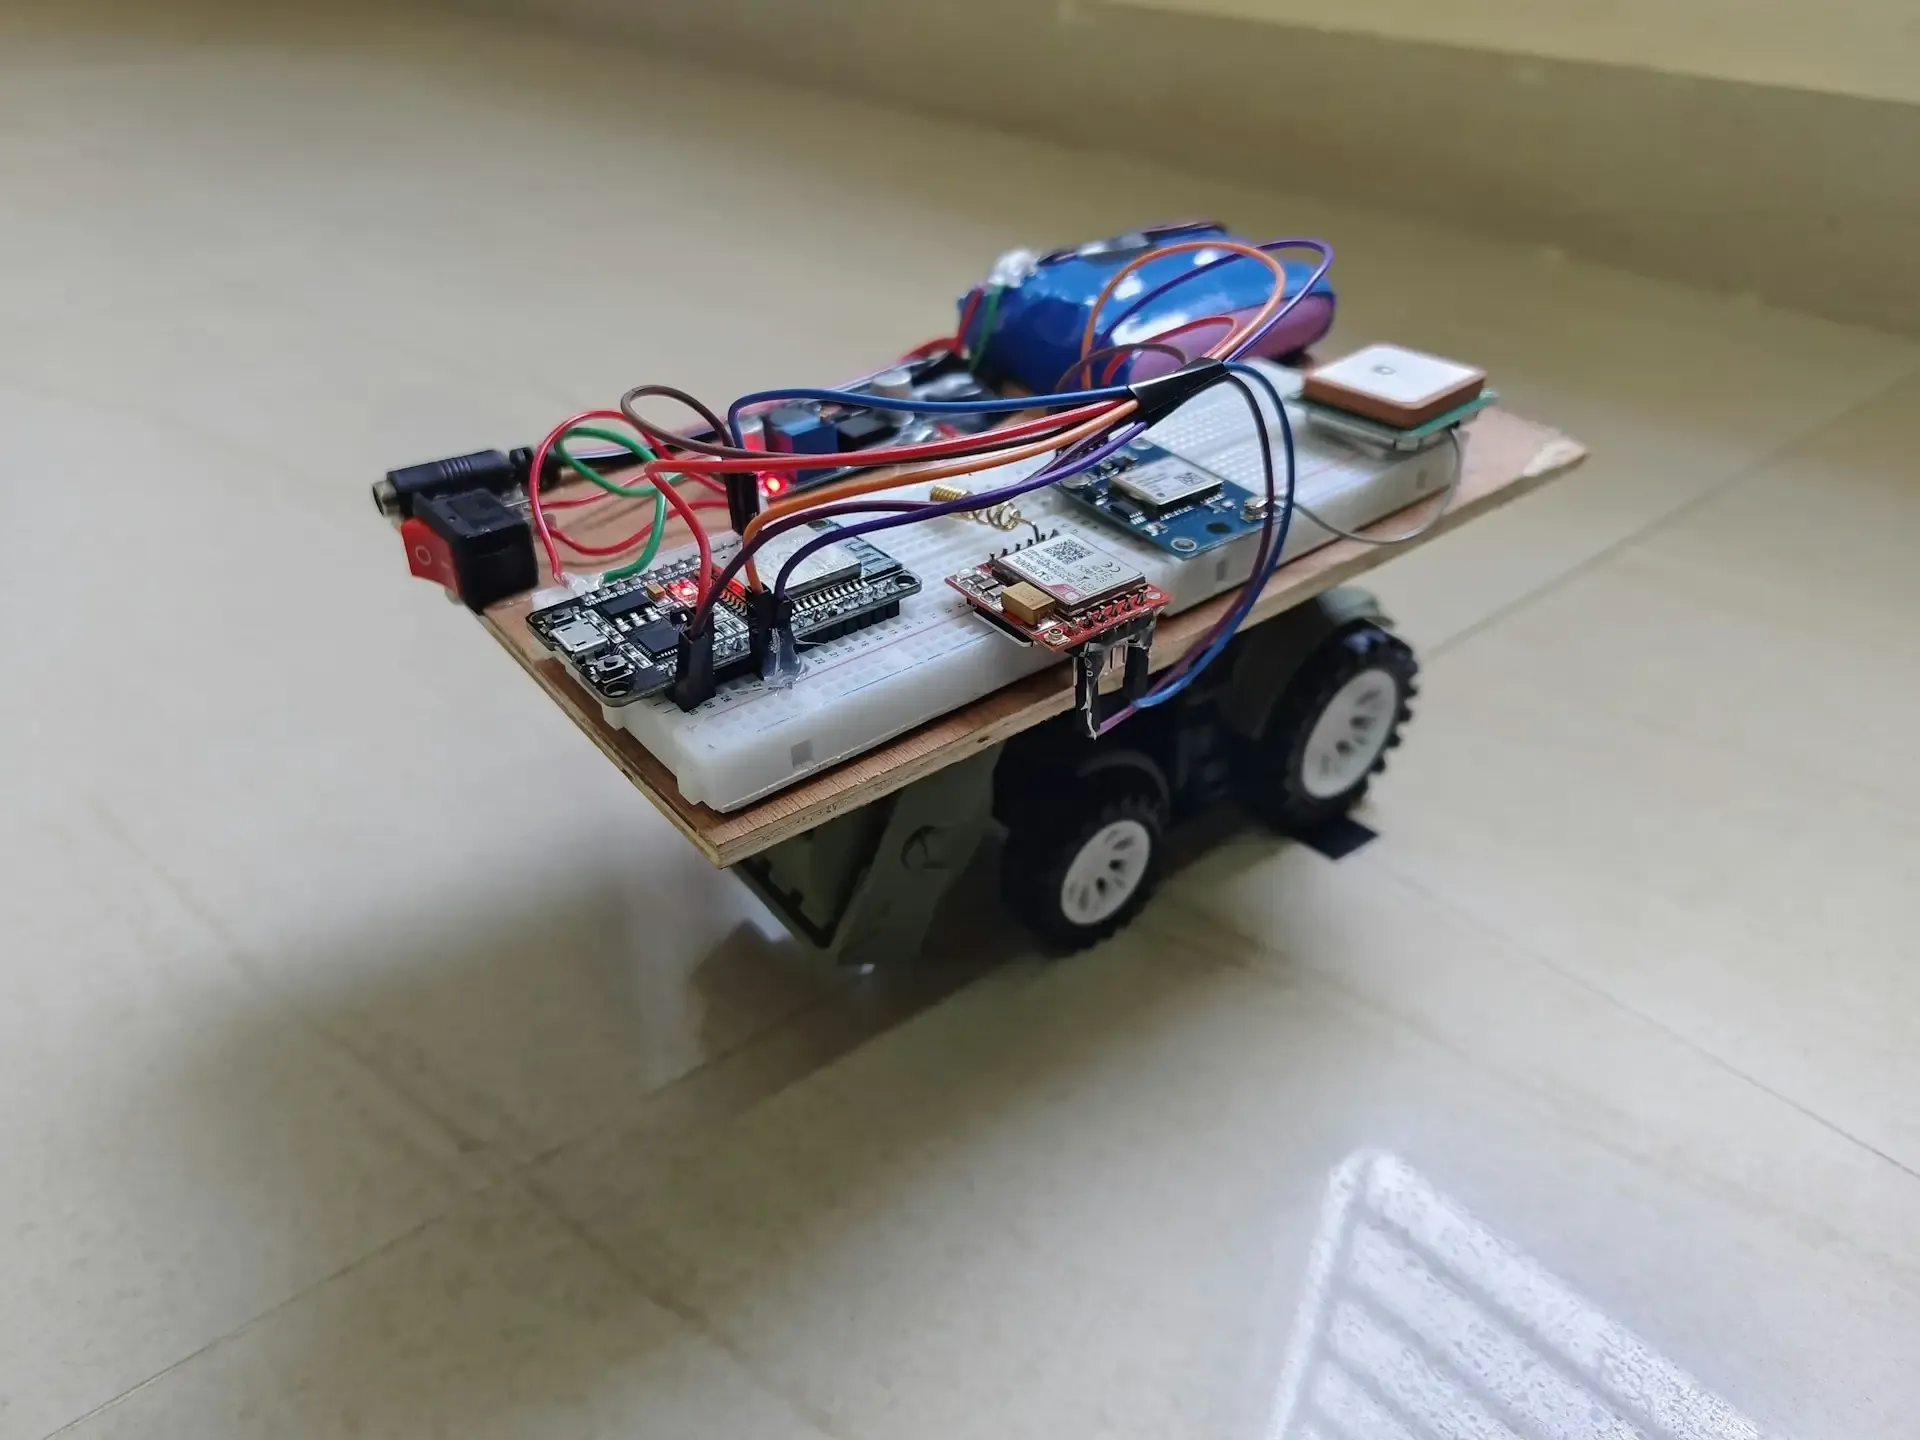
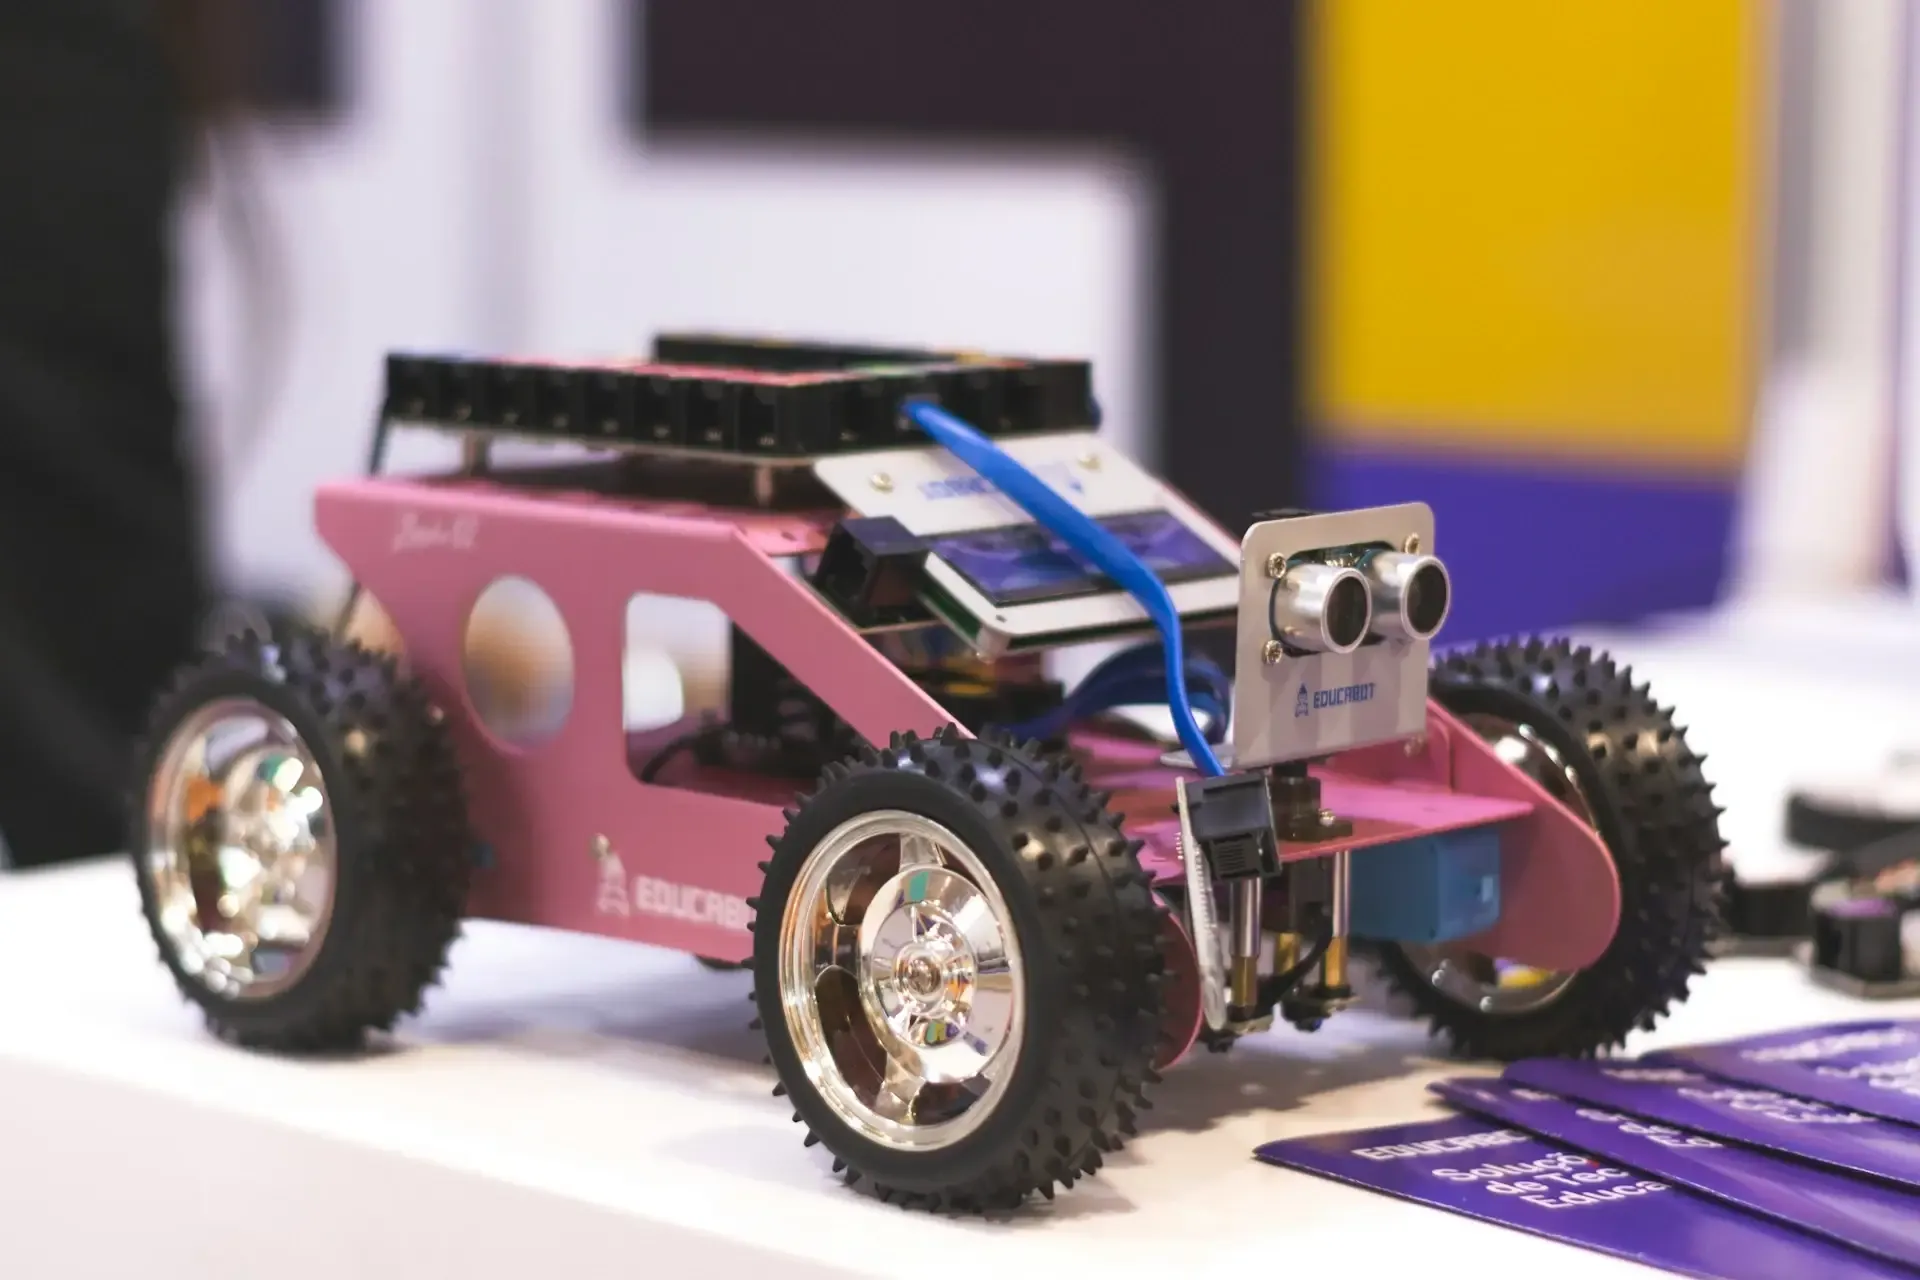
- Autonomous Car or Rover: Navigates obstacles, follows routes, or maps its environment, teaching motion control and sensor integration.
- Smart Home Delivery Robot: Moves items around the house, introducing pathfinding, localization, and object detection.
- Robotic Arm: Performs sorting or assembly tasks, helping you understand precision control and automation.
- Surveillance Robot: Streams live video, patrols areas, and responds to motion, combining cameras with real-time control.
- Educational Robot: Hands-on projects for learning programming, electronics, and problem-solving.
Each project builds skills in sensors, coding, and control systems, showing that robotics is accessible to anyone with creativity and a Raspberry Pi.
Final Words
Working with Raspberry Pi in robotics is more than just building machines; it’s about learning, experimenting, and bringing your ideas to life. Each project, whether it’s a simple line follower or a smart surveillance robot, teaches valuable lessons in coding, electronics, and problem-solving.
The most rewarding part isn’t just seeing your robot move, it’s seeing an idea transform into something real through patience, creativity, and curiosity. If you’ve ever wanted to dive into robotics, the best time to start is now. Grab a Raspberry Pi, pick a project, and let your imagination guide the way.
